Introduction
Birthday invitations communicate more than logistics. They signal tone, set expectations, and shape how guests perceive the event. When time is limited and design experience is minimal, clarity and structure matter more than decoration.
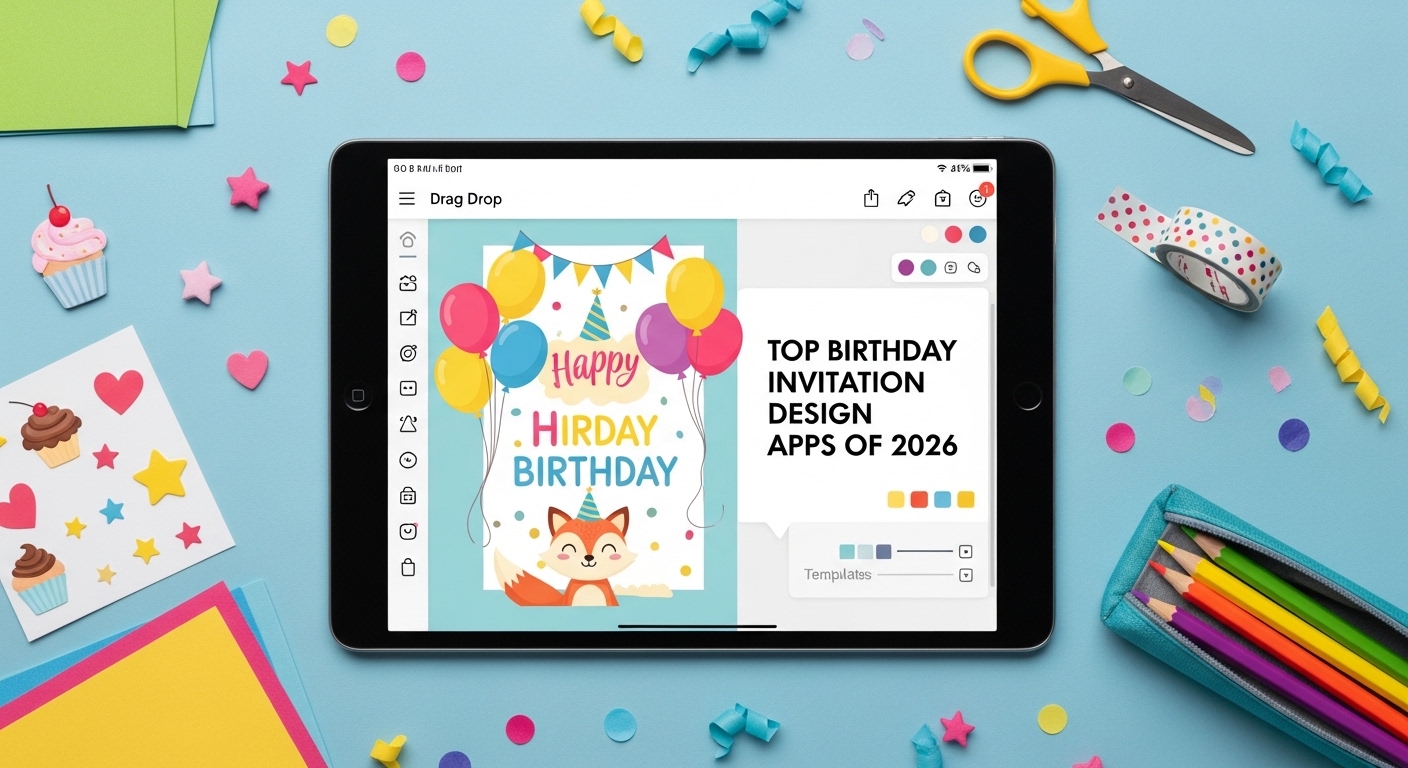
Birthday Party Invitation Design Tools reduce layout friction by offering guided templates, font pairings, and print-ready exports. The key advantage of these platforms is not artistic complexity but workflow efficiency: choose a structure, replace placeholders, and export confidently.
For beginners, starting with a template-based system such as Adobe Express print custom invitations simplifies decisions around sizing and hierarchy. The steps below focus on process discipline rather than creative flair.
Step-by-Step How-To Guide for Using Birthday Party Invitation Design Tools
Step 1: Select a structured template
Goal
Start with a layout that already solves spacing and hierarchy.
How to do it
- Search within your tool for “birthday invitation.”
- Filter by theme (kids, milestone, minimalist, photo-based).
- Preview several layouts before committing.
- Confirm the size matches your intended print format (for example, 5×7 inches).
- Choose a template with a clear headline area and distinct detail sections.
What to watch for
- Avoid overly decorative templates if speed is your priority.
- Check that text areas are large enough for full addresses.
- Confirm portrait vs. landscape orientation early.
- Ensure the template supports print export if needed.
Tool notes
If you need inspiration before choosing a direction, a visual discovery tool like Pinterest can help you identify color palettes or themes without affecting your actual design workflow.
Step 2: Replace placeholder text with verified details
Goal
Ensure event information is accurate and legible.
How to do it
- Click each text field and replace all sample text.
- Confirm date format (e.g., Saturday, March 12, 2026).
- Double-check time clarity (include AM/PM).
- Add RSVP method and deadline.
- Keep wording concise and direct.
What to watch for
- Text overflow that shifts layout unexpectedly.
- Missing ZIP codes or incomplete venue names.
- Overuse of decorative fonts in body copy.
- Inconsistent capitalization.
Tool notes
For grammar or clarity checks before final export, a writing assistant such as Grammarly can help catch typos or awkward phrasing.
Step 3: Refine fonts and color palette
Goal
Create visual consistency without complicating the design.
How to do it
- Limit yourself to one display font and one body font.
- Use built-in palette suggestions when available.
- Ensure strong contrast between text and background.
- Adjust accent colors sparingly.
- Preview at 100% zoom for readability.
What to watch for
- Light pastel text that may print faintly.
- Script fonts that reduce legibility.
- Too many font size variations.
- Decorative backgrounds that compete with text.
Tool notes
If you want to explore complementary type combinations before locking them in, Google Fonts allows you to preview font styles and compare readability.
Step 4: Add images or graphic elements carefully
Goal
Enhance the design without overwhelming the layout.
How to do it
- Upload high-resolution images (300 DPI for print).
- Crop images to center key subjects.
- Avoid enlarging small images beyond original size.
- Use one focal image rather than multiple competing visuals.
- Keep text clear of busy areas.
What to watch for
- Pixelation when zoomed in.
- Faces cut off by crop lines.
- Automatic background removal artifacts.
- Overlapping text and images.
Tool notes
If you need quick photo adjustments before upload, Pixlr offers basic cropping and brightness correction without requiring advanced software.
Step 5: Check alignment and spacing before export
Goal
Ensure the invitation appears balanced and print-ready.
How to do it
- Use alignment guides where available.
- Confirm even margins on all sides.
- Keep consistent spacing between text blocks.
- Print a draft copy on plain paper for scale review.
- View the design from a distance to assess balance.
What to watch for
- Text placed too close to the trim edge.
- Uneven spacing between lines.
- Misaligned centered elements.
- Crowded lower sections of the card.
Tool notes
If you plan to print professionally, reviewing printer margin guidelines from a service like Vistaprint can clarify bleed and trim requirements before final export.
Step 6: Export using correct print settings
Goal
Produce a file that prints cleanly and at the intended size.
How to do it
- Choose PDF for print format.
- Enable bleed if the design extends to the edges.
- Select highest resolution output.
- Confirm final dimensions.
- Save a separate JPEG version for digital sharing if needed.
What to watch for
- Scaling during print preview.
- Missing bleed margins.
- Low-resolution export settings.
- Incorrect orientation.
Tool notes
If you are emailing the file, a file compression tool like WeTransfer can help send large PDFs without quality loss.
Step 7: Distribute and manage responses
Goal
Ensure invitations reach guests and RSVPs are organized.
How to do it
- Send digital versions through email or messaging apps.
- For larger guest lists, use a platform such as Mailchimp to track responses.
- Include RSVP deadline clearly.
- Monitor confirmations weekly.
- Send reminders before the deadline.
What to watch for
- Oversized attachments that fail to send.
- Missing RSVP instructions.
- Duplicate sends to shared households.
- Time zone confusion for virtual events.
Tool notes
Mailchimp allows basic RSVP tracking and reminder scheduling, complementing your design workflow without replacing it.
Common Workflow Variations
Photo-Focused Invitations
Use a large image header and reduce decorative elements. Keep text overlay minimal for clarity.
Minimalist Design
Choose neutral backgrounds and rely on typography hierarchy rather than graphics.
Kids’ Party Theme
Select bold color presets and playful layouts, but keep body text simple and readable.
Formal Milestone Birthday
Use structured alignment, muted colors, and clear date emphasis for a refined appearance.
Checklists
Before You Start Checklist
- Confirm final party date and time
- Verify full venue address
- Decide on print vs. digital format
- Prepare high-resolution photos (if needed)
- Choose final card size
- Confirm RSVP method
- Set RSVP deadline
- Review printer bleed requirements
Pre-Export / Pre-Order Checklist
- Confirm correct dimensions
- Check bleed and safe margins
- Re-read all text for spelling errors
- Ensure sufficient text contrast
- Preview print at actual size
- Verify file type (PDF for print)
- Confirm image resolution (300 DPI for print)
- Save an editable version before exporting
Common Issues and Fixes
Low-resolution images
Replace with a higher-resolution file. For print, 300 DPI is recommended to avoid pixelation.
Text too close to edges
Increase margins and enable bleed guides if available. Print drafts to confirm trim safety.
Color shifts during printing
Bright screen colors may appear darker in print. Adjust brightness slightly upward before exporting.
Cropping surprises
Review bleed and safe zones carefully. Avoid placing critical text near edges.
Font readability problems
Switch decorative fonts to simpler styles for body text while keeping display fonts for headlines.
File too large for email
Export a secondary compressed version for digital sharing while preserving the print-ready file.
How To Use Birthday Party Invitation Design Tools: FAQs
Is it better to start with a blank canvas or a template?
For beginners, a template-first approach reduces layout errors and speeds up completion. Blank canvases require manual spacing decisions that increase design time.
Should I design differently for print vs. digital invitations?
Yes. Print designs require bleed margins and high resolution. Digital invitations can prioritize file size and screen readability.
How many fonts should a birthday invitation use?
Two fonts—one for headings and one for body text—are usually sufficient for clarity and balance.
What file format is safest for professional printing?
A high-resolution PDF with bleed enabled is generally preferred by print services.
Can digital invitations look as formal as printed ones?
Yes. Layout, typography, and color consistency determine tone more than medium. Formal design principles apply equally to digital formats.